In this Learn to Sew (LTS) post, we're going to show how to easily add piping to your sewing projects - and then we'll tell you how we use this technique in more complicated ways to create really special trim detailing on our aprons.
You're going to need extra wide double fold bias tape and yarn - and of course a project to add this technique to. For this example, we're going to add "piping" to a pocket for the Jessie Pattern so we are going to need the pocket pieces as well. And, of course, you'll need a sewing machine, thread, and pins.
Let's get to it.
The first step is to measure the required length of your extra wide double fold bias tape and yarn.
Now sandwich your yarn in between the two main flaps of the bias tape. Make sure that the yarn is all the way at the bottom and pin in the bias shut along the top.
Now you will need to put your piping in the seam of whatever it is that you are working with. In this case, it's the top portion of a pocket and the curved bottom portion. Simply pin along the right side edge of the fabric and cut any excess piping you may have. With right sides facing each other, you'll want to pin the top portion (or whatever the other side of your seam is for the project you're working on) to the pinning you just completed.
Now you're going to stitch your seam using a normal seam allowance (ours is a 3/8" seam allowance which works perfectly for this technique). Once you stitch your seam all the way across, "open" the top portion up and press flat. Top stitch the seam and you are all finished with adding piping!
See, that was super easy! And by taking these few extra steps when you are creating a project, you can step up your sewing game so easily it's ridiculous.
What else can you add this piping technique to? Pretty much anything with a seam. We have added this piping to bodice seams (see the gorgeous one below), skirt bottoms, pockets, waistbands, and even my nieces twirl skirts. You can add piping like this to pillowcases, sheets, pillow shams, dresses, towels, and so many more things - seriously, the sky is the limit!
And because you created the piping yourself, you are not limited to the colors or fabrics offered in packages. You have complete control over how thick or stiff to make the piping - depending on the type of yarn you use. And the biggie (for me anyway) is that you don't have to worry about the stitch line of the piping itself not catching in the seam that you are putting it in. Becuase let's face it, every one of us sewists have had that stitch line show through a time or two!
Hope you enjoyed this LTS post and if you have any questions, post the below.
Credits // Author and Photography: Kate Mark for Bambino Amore
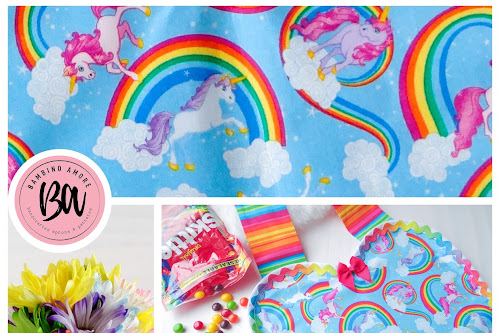
Sometimes, the design process is wicked easy when you stumble across awesome fabric like this Rainbows + Unicorns fabric we snagged at Joann Fabrics last summer. It was a no brainer to pair it with a classic rainbow stripe. The result? A vibrant summer apron that is sure to make you happy all year round.
The finer details are really what make this apron pop. By carrying the rainbow theme to the ric-rac around the bodice and pocket, you get a super cohesive look as opposed to if we had just picked a color from the rainbow and used that instead. Seriously, that would have changed the entire look of the apron.
Moral of this story, don't be afraid to take a theme and RUN WITH IT. Go all out. If you're a little apprehensive about going too far with it, you can always use a solid color fabric instead of the rainbow print. Or use a solid ric-rac in the color of the rainbow that you are most fond of.
We hope you're inspired to take harness the power of a rainbow this summer (and beyond)!
Credits // Author and Photography: Kate Mark for Bambino Amore //Last Photo of KONA Cotton: Craftsy
It's all about the cotton when it comes to the fundamentals of many of our aprons. And probably many of your sewing projects as well. For us, if we're talking about character aprons, it's crucial that we pick the right cotton. So what's up with the love for KONA?
WHAT IS KONA COTTON?
First thing first. What is KONA Cotton anyway? It's a light-weight quilting cotton created + manufactured by Robert Kaufman, a company that has been synonymous with quality fabrics for over 50 years. Oh, and it's still a family run business - which I have a special place in my heart for, but that's just me.
Unlike some cottons which are blends (think cotton/rayon, cotton/polyester, etc), KONA is 100% cotton. It doesn't stretch or get distorted when you work with it, which is a HUGE deal when you're doing appliques. The fabric is thick and durable, weighing between 4.3 + 4.35 oz. per square yard, making it ideal for those portions of the apron or garments that receive the most rugged use, such as the neck ties + waist ties.
KONA FEATURES THAT STAND OUT
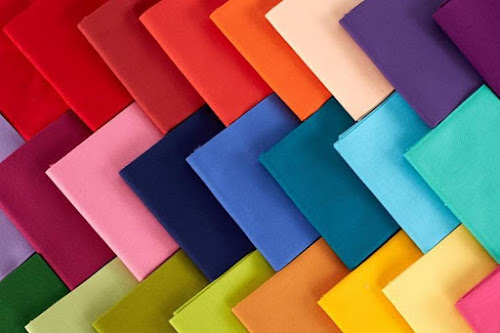
As mentioned above, the quality of the fabric makes it stand out head and shoulders above the crowd of other cotton fabrics. Additionally, KONA has minimal shrinkage and the colors don't bleed like a lot of other solid fabrics do. That is crucial when you are putting blue, red, yellow, and white together in the same apron or garment. And speaking of color - there are over 300 color options in the KONA line-up. Talk about choices! I have never seen a manufacturer of fabric carry that many color options in a single line.

NO NASTY CHEMICAL BATHS
As you probably know already, a lot of fabrics are chemically treated in the "finishing" process. These chemicals are used to make the fabric stain resistant, crease resistant, stiffen the fabric, give the fabric an anti-static quality, and to lessen the flammability of the fabric - to name just a few.
KONA, on the other hand, is the "only quilting solid to come with the assurance of Oeko-tex certification, which certifies that no harmful chemicals were used in the production, processing or finishing of these goods". In plain English, that means that not only is it super soft and non-scratchy but it skips the nasty chemical baths in the process.

NUTSHELL RECAP: WHY WE LOVE KONA COTTON
- It's a light-weight quilting cotton created + manufactured by Robert Kaufman
- It's 100% Cotton (not a blend)
- It's durable - weighing in at between 4.3 + 4.35 oz. per square yard
- It has minimal shrinkage + doesn't bleed when wet or washed so you can mix colors easily
- There are over 300 color options available in the KONA line
- It's soft and non-scratchy fabric
- It is the only quilting fabric that bears the Oeko-tex certification stating no harmful chemicals were used.
What is your favorite cotton for your projects? Do you use KONA? Let us know in the comments below.
Credits // Author and Photography: Kate Mark for Bambino Amore // Bottom 3 Photos of KONA Cotton: Craftsy


WHAT IS CHAMBRAY?
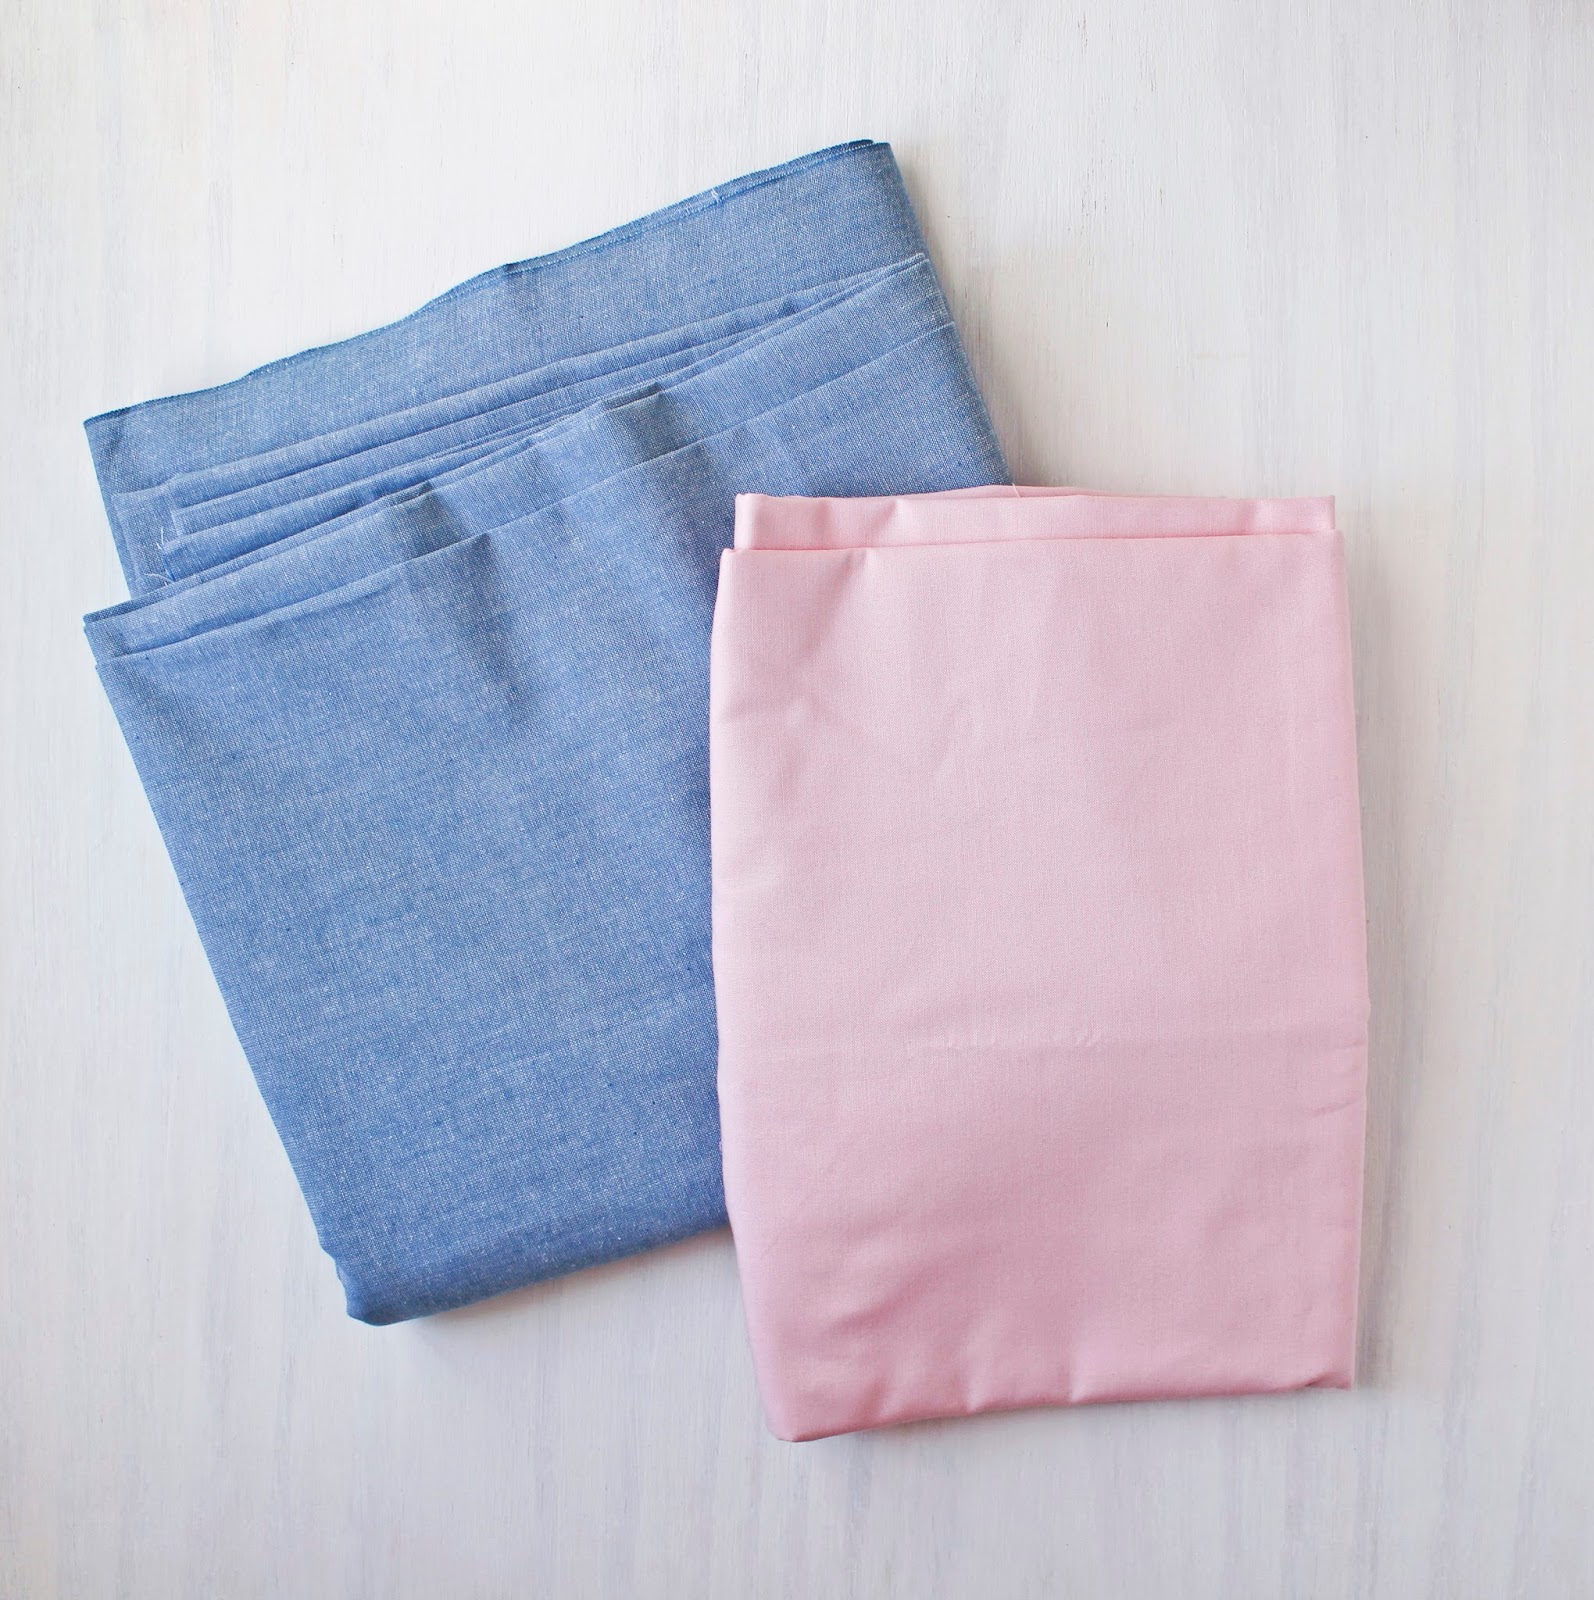
Chambray is often confused with denim. But, it's actually denim's light-weight cousin. It's a cotton fabric that combines colored yarn (in the warp or top of the fabric) and white yarn (in the weft or back of the fabric), which is actually the same manner that denim is woven in. However, Chambray is a plain or sometimes crisscross weave whereas denim is a diagonal weave. In plain English that means that Chambray is a lighter, airier weave that exposes more of the white yarn in the top side of the fabric. Whereas denim is a dense, tight weave (and therefore heavier) that keeps the white yarn on the back side of the fabric - giving it a darker color than any Chambray.
WHAT TO MAKE USING CHAMBRAY
We know that Chambray has the appearance of a lightly colored denim and that it is a little bit heavier than basic quilting fabrics, but, not as heavy as denim. So the question becomes - what can you make using Chambray?
The answer to that question is pretty endless. You can go traditional and create a top like the one pictured above or you can get creative with it and create nearly anything you can think of for your Spring/Summer wardrobe. Think: button up shirts, dresses (both flowing and structured), pantsuits, pants, and even shoes (Espadrilles look amazing in Chambray).
WHAT ABOUT HOME-GOODS USES
Can Chambray be used to create home-goods? Of course! It is perfect for tablecloths, napkins, pillowcases, duvet covers, and yes - especially aprons. It is tough + durable while staying soft + comfy, which, in my opinion makes it ideal for a workhorse apron.
Washed Chambray will give you a similar wrinkled look of linen,. As I'm sure you've seen all over Etsy and Pinterest, that wrinkled look is crazy popular these days. So, with that in mind, I am thinking that a revamped bistro apron or gardening apron would be the perfect style choice for Chambray. Mix it with pops of color - sparingly or all over for an unexpected surprise. Like the soft pink seen in the image above.
NUTSHELL RECAP: WHY CHAMBRAY IS THE PERFECT DENIM ALTERNATIVE
- It's lighter than denim, but a bit heavier than standard quilting fabrics
- It's generally 100% Cotton (not a blend)
- It's durable - weighing in at 4.9 oz. per square yard
- It's soft and non-scratchy fabric + will only get softer with each washing
- Its composition makes it more versatile than denim + can be used for clothing and home-goods alike
What do you think of Chambray with pink? I have tons of ideas swirling around and can't wait to share the end result with you!
Credits // Author and Photography: Kate Mark for Bambino Amore // Top Photo of Chambray: Fancy Tiger Crafts
Subscribe to:
Posts (Atom)


Social Icons