
posts in
Tutorials

In this Learn to Sew (LTS) post, we're going to show how to easily add piping to your sewing projects - and then we'll tell you how we use this technique in more complicated ways to create really special trim detailing on our aprons.
You're going to need extra wide double fold bias tape and yarn - and of course a project to add this technique to. For this example, we're going to add "piping" to a pocket for the Jessie Pattern so we are going to need the pocket pieces as well. And, of course, you'll need a sewing machine, thread, and pins.

Let's get to it.
The first step is to measure the required length of your extra wide double fold bias tape and yarn.

Now sandwich your yarn in between the two main flaps of the bias tape. Make sure that the yarn is all the way at the bottom and pin in the bias shut along the top.

Now you will need to put your piping in the seam of whatever it is that you are working with. In this case, it's the top portion of a pocket and the curved bottom portion. Simply pin along the right side edge of the fabric and cut any excess piping you may have. With right sides facing each other, you'll want to pin the top portion (or whatever the other side of your seam is for the project you're working on) to the pinning you just completed.

Now you're going to stitch your seam using a normal seam allowance (ours is a 3/8" seam allowance which works perfectly for this technique). Once you stitch your seam all the way across, "open" the top portion up and press flat. Top stitch the seam and you are all finished with adding piping!


See, that was super easy! And by taking these few extra steps when you are creating a project, you can step up your sewing game so easily it's ridiculous.
What else can you add this piping technique to? Pretty much anything with a seam. We have added this piping to bodice seams (see the gorgeous one below), skirt bottoms, pockets, waistbands, and even my nieces twirl skirts. You can add piping like this to pillowcases, sheets, pillow shams, dresses, towels, and so many more things - seriously, the sky is the limit!


And because you created the piping yourself, you are not limited to the colors or fabrics offered in packages. You have complete control over how thick or stiff to make the piping - depending on the type of yarn you use. And the biggie (for me anyway) is that you don't have to worry about the stitch line of the piping itself not catching in the seam that you are putting it in. Becuase let's face it, every one of us sewists have had that stitch line show through a time or two!
Hope you enjoyed this LTS post and if you have any questions, post the below.
Credits // Author and Photography: Kate Mark for Bambino Amore
5 EASY STEPS TO ANGLED APRON TIES
Aug 21, 2016

APRON TIES - ANGLE THEM LIKE A PRO
Have you ever wondered how we get those angled ties for our Bambino Amore aprons? It's wicked easy and I'll show you how it's done. So, let's get to it with this quick sewing tip.
STEP ONE:
First, you need to stitch up your ties - according to whatever pattern/tutorial instructions you are working with. This example is of the Lola apron tutorial, which will be coming to the blog in its entirety for free soon.
STEP TWO:
Now you will need to angle the edges - following the instructions on your pattern/tutorial. If you'd like it to look like this one - you need to measure over 1" on the top and .5" on the bottom, draw a line, and then use that line as your stitch line.This is a wicked important step since it will determine how the end of the tie will look. Some are curved, some are squared, and some are angled - ours are angled. Regardless of your desired edge, be sure to back-stitch a bunch because you want those pressure points to be really durable.

STEP THREE:
The next step is clipping along the seams to get rid of some of that bulk - that's the real secret to a nice angled edge.
STEP FOUR:
Turn baby, turn. I use a full on knitting needle to turn my ties. Mom uses a crochet hook. Once upon a time, I used a safety pin to pull the fabric through. There are even some people who use a special tool. Whichever method is easiest for you is what you should go with - just make sure that you turn the tie and push the point out without pushing through the fabric itself (ie., poking a hole in the fabric + totally ruining the tie).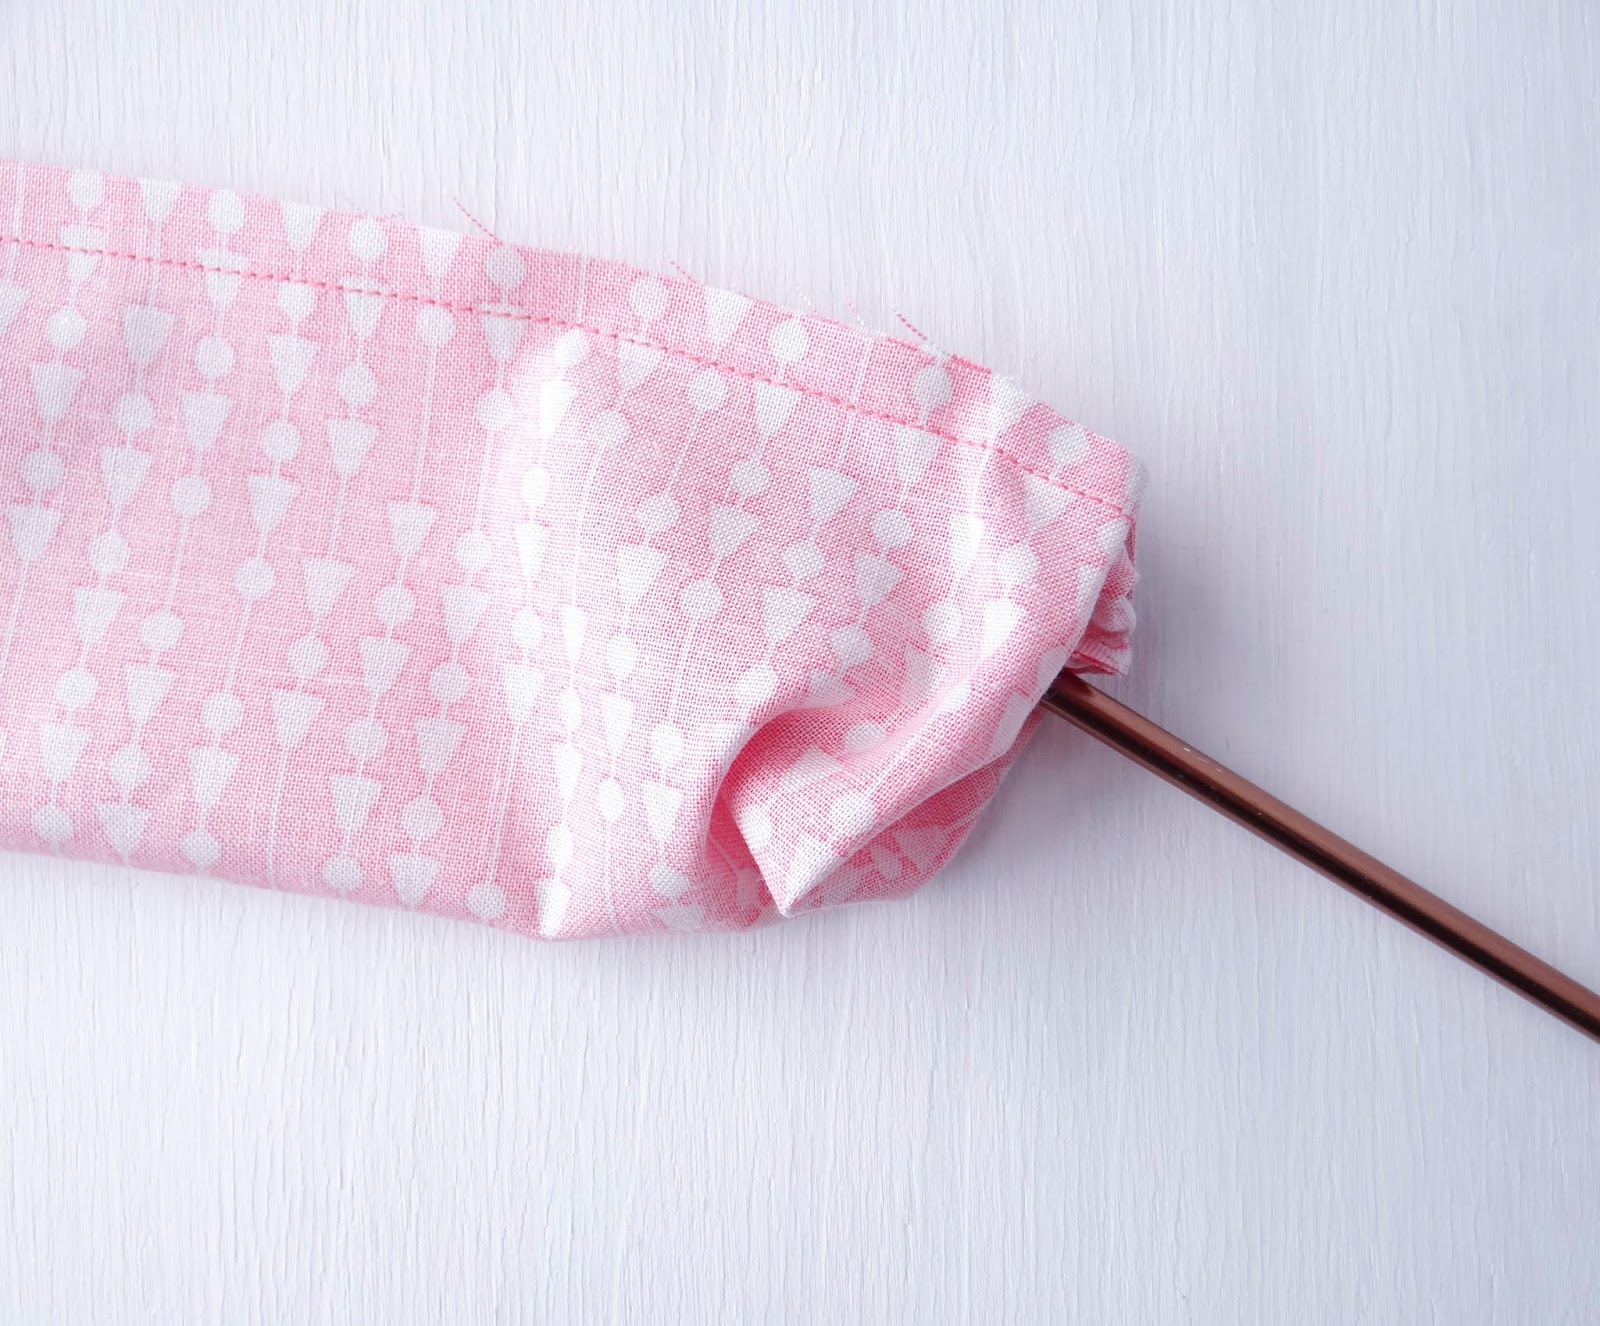

STEP FIVE:
Now you just need to smooth out (flatten) your seam. I do this first using my fingers by rolling the seam and smoothing them with my nails - and then with the iron + starch. That will get them nice and flat.
NUTSHELL RECAP: 5 EASY STEPS TO ANGLED APRON TIES
- Stitch up your ties (lengthwise) according to your pattern/tutorial instructions
- Angle your ties by measuring over 1" on the top and .5" on the bottom, draw a line, and then use that line as your stitch line - making sure to backstitch.
- Clip excess fabric along stitch lines.
- Turn tie + push out point carefully
- Flatten/smooth out seam + press flat
Credits // Author and Photography: Kate Mark for Bambino Amore // Apron Pattern + Tutorial by Bambino Amore
Subscribe to:
Posts (Atom)




Social Icons