APRON TIES - ANGLE THEM LIKE A PRO
Have you ever wondered how we get those angled ties for our Bambino Amore aprons? It's wicked easy and I'll show you how it's done. So, let's get to it with this quick sewing tip.
STEP ONE:
First, you need to stitch up your ties - according to whatever pattern/tutorial instructions you are working with. This example is of the Lola apron tutorial, which will be coming to the blog in its entirety for free soon.
STEP TWO:
Now you will need to angle the edges - following the instructions on your pattern/tutorial. If you'd like it to look like this one - you need to measure over 1" on the top and .5" on the bottom, draw a line, and then use that line as your stitch line.This is a wicked important step since it will determine how the end of the tie will look. Some are curved, some are squared, and some are angled - ours are angled. Regardless of your desired edge, be sure to back-stitch a bunch because you want those pressure points to be really durable.

STEP THREE:
The next step is clipping along the seams to get rid of some of that bulk - that's the real secret to a nice angled edge.
STEP FOUR:
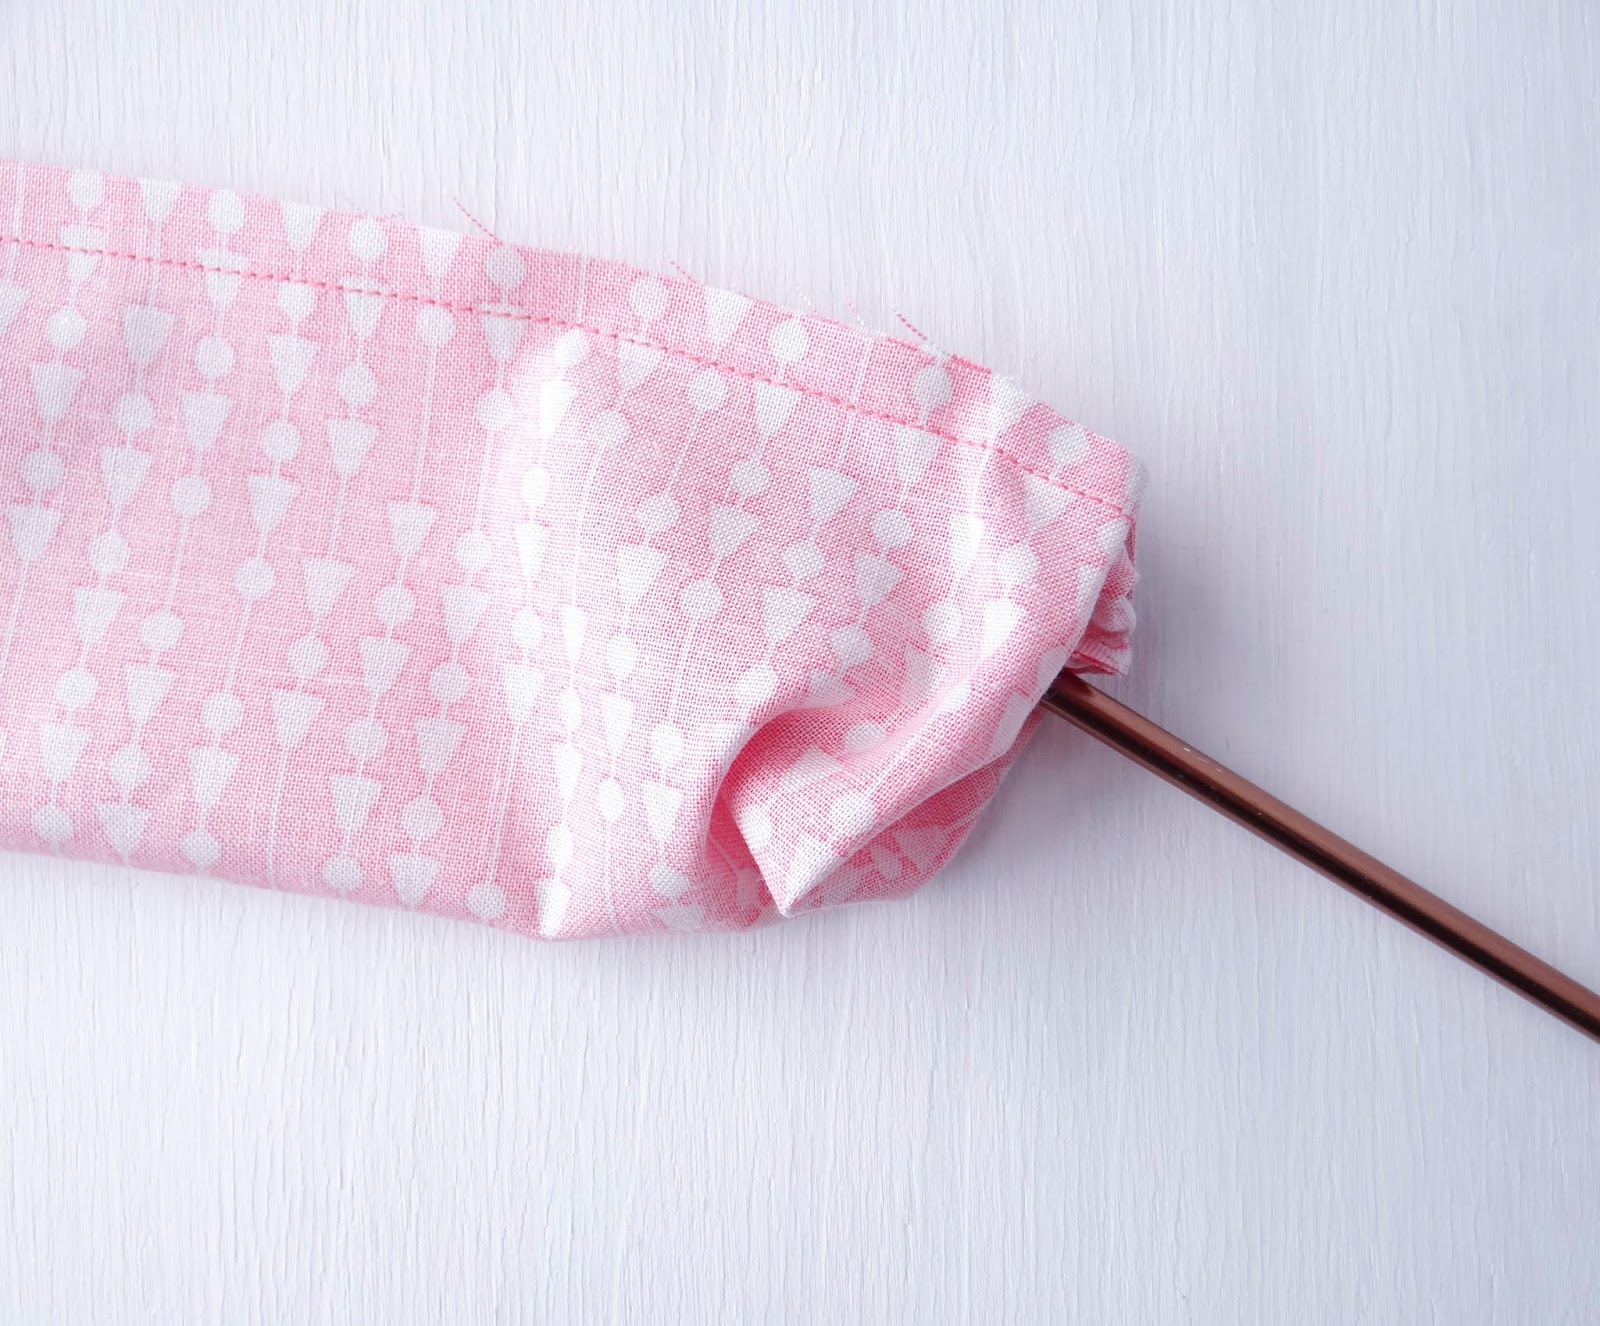
Turn baby, turn. I use a full on knitting needle to turn my ties. Mom uses a crochet hook. Once upon a time, I used a safety pin to pull the fabric through. There are even some people who use a special tool. Whichever method is easiest for you is what you should go with - just make sure that you turn the tie and push the point out without pushing through the fabric itself (ie., poking a hole in the fabric + totally ruining the tie).

STEP FIVE:
Now you just need to smooth out (flatten) your seam. I do this first using my fingers by rolling the seam and smoothing them with my nails - and then with the iron + starch. That will get them nice and flat.
NUTSHELL RECAP: 5 EASY STEPS TO ANGLED APRON TIES
- Stitch up your ties (lengthwise) according to your pattern/tutorial instructions
- Angle your ties by measuring over 1" on the top and .5" on the bottom, draw a line, and then use that line as your stitch line - making sure to backstitch.
- Clip excess fabric along stitch lines.
- Turn tie + push out point carefully
- Flatten/smooth out seam + press flat
Credits // Author and Photography: Kate Mark for Bambino Amore // Apron Pattern + Tutorial by Bambino Amore


Post a Comment